FAA Advisory Circular 43.13-1B
Acceptable Methods, Techniques, and Practices
Aircraft Inspection and Repair
AC 43.13-1B | 3. Fiberglass and Plastics | 3. Transparent Plastics | 3-24. Repair of Plastics
9/8/98
AC 43.13-1B
Clean glass or polyethylene mixing containers
are preferred.
(b) Because of their short pot life
(approximately 45 minutes) Cement PS-30 and
Weld-On 40 must be used quickly once the
components are mixed. Time consumed in
preparation shortens the effective working
time, making it necessary to have everything
ready to be cemented before the cements are
mixed. For better handling pour cement
within 20 minutes of mixing.
(c) For maximum joint strength, the
final cement joint should be free of bubbles. It
will usually be sufficient to allow the mixed
cement to stand for 10 minutes before ce
menting to allow bubbles to rise to the surface.
(See figure 3-20.)
is easily done with a strip of cellophane tape
placed over the masking tape adhesive. The
tape must be chosen carefully. The adhesive
on ordinary cellophane tape prevents the cure
of PS-30 and Weld-On 40. Before actual fab
rication of parts, sample joints should be tried
to ensure that the tape system used will not
harm the cement. Since it is important for all
of the cement to remain in the gap, only con
tact pressure should be used.
(4) Bubbles will tend to float to the top
of the cement bead in a gap joint after the ce
ment is poured. These cause no problem if the
bead is machined off. A small wire (not cop
per), or similar objects may be used to lift
some bubbles out of the joint; however, the
cement joint should be disturbed as little as
possible.
(5) Polymerizable cements shrink as the
cement hardens. Therefore, the freshly poured
cement bead should be left above the surfaces
being cemented to compensate for the shrink
age. If it is necessary for appearances, the
bead may be machined off after the cement has
set.
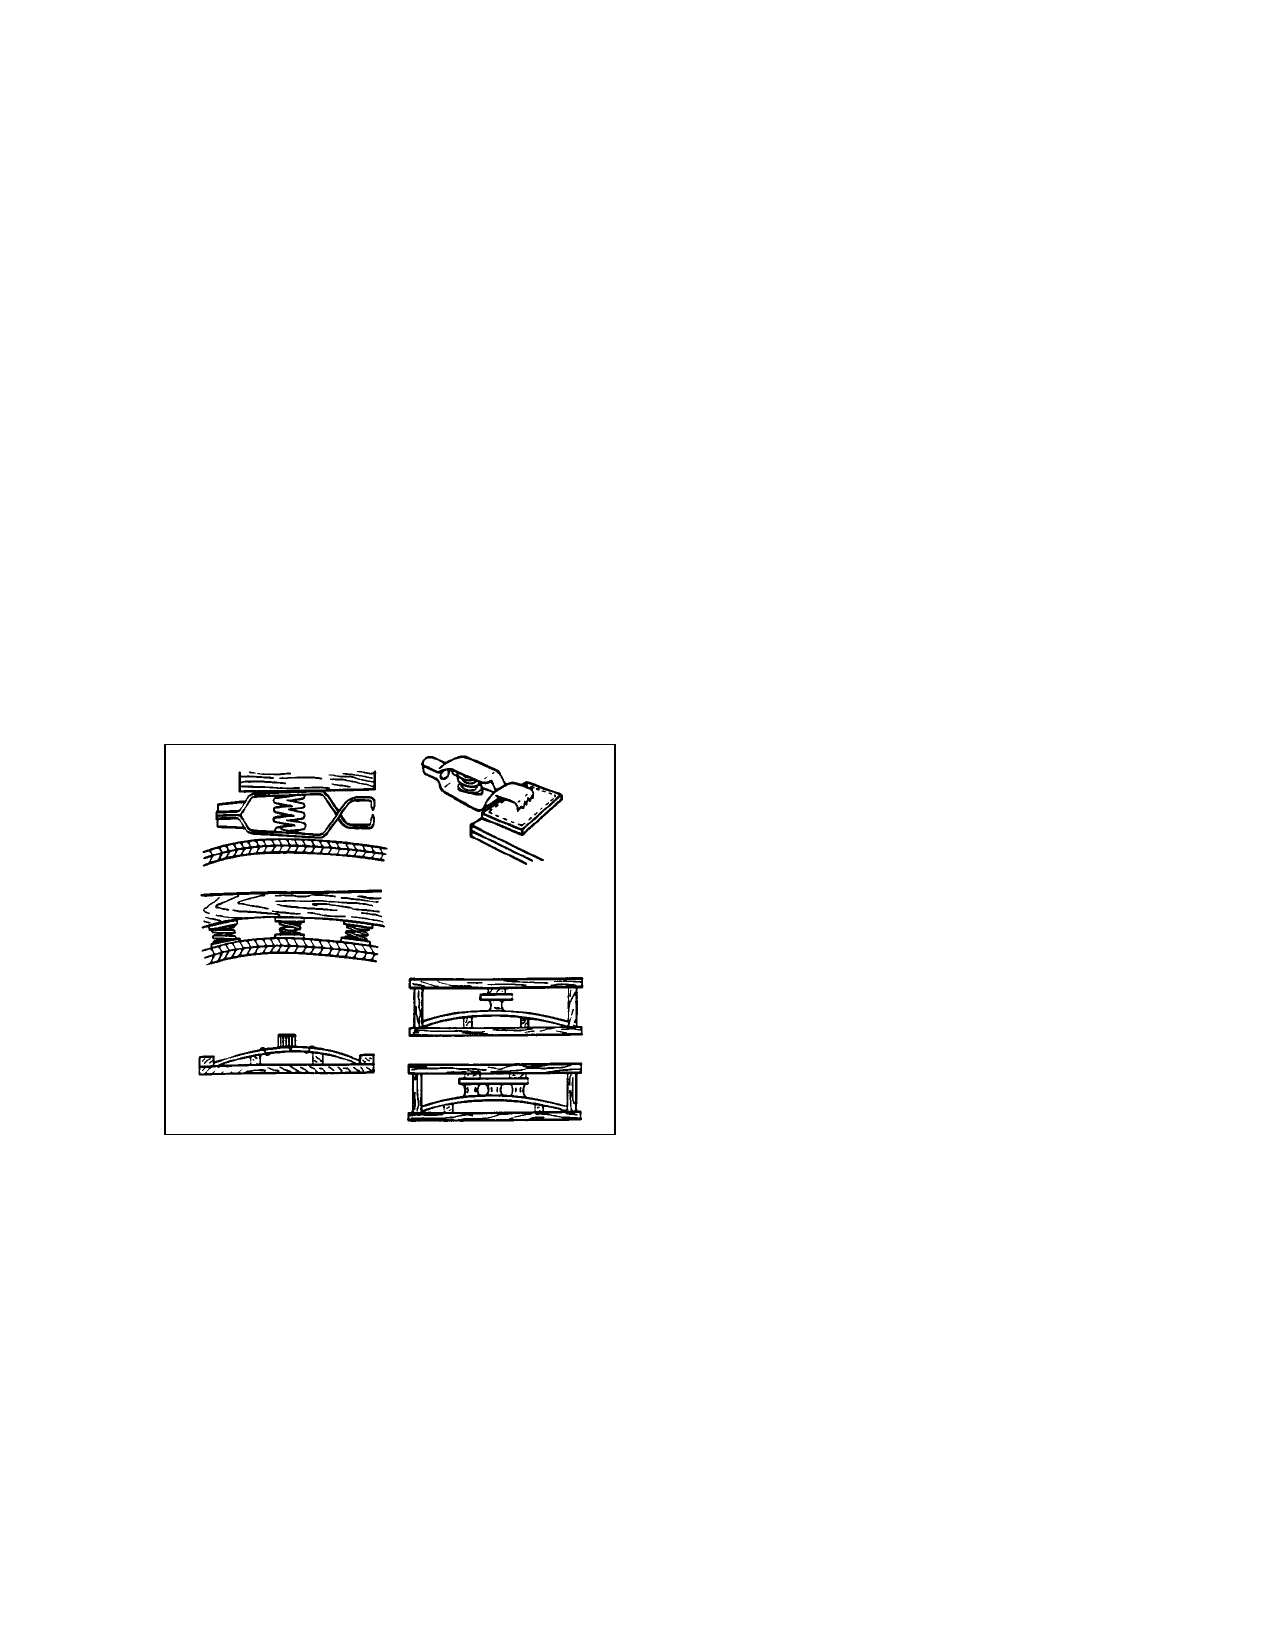
FIGURE 3-20. Applying pressure to acrylic plastics.
(d) The gap joint technique can only
be used with colorless PLEXIGLAS acrylic or
in cases in which joints will be hidden. If in
conspicuous joints in colored PLEXIGLAS
acrylic are needed, the parts must be fitted
closely, using closed V groove, butt, or arc
joints.
(3) Cement forms or dams may be made
with masking tape as long as the adhesive sur
face does not contact the cement. This
3-24. REPAIR OF PLASTICS. Replace,
rather than repair extensively damaged trans
parent plastic, whenever possible, since even a
carefully patched part is not the equal of a new
section, either optically or structurally. At the
first sign of crack development, drill a small
hole with a # 30 or a 1/8-inch drill at the ex
treme ends of the cracks as shown in fig
ure 3-21. This serves to localize the cracks
and to prevent further splitting by distributing
the strain over a large area. If the cracks are
small, stopping them with drilled holes will
usually suffice until replacement or more per
manent repairs can be made. The following
repairs are permissible; however, they are not
to be located in the pilot’s line of vision during
landing or normal flight.
Par 3-23
Page 3-19