FAA Advisory Circular 43.13-1B
Acceptable Methods, Techniques, and Practices
Aircraft Inspection and Repair
AC 43.13-1B | 8. Engines, Fuel, Exhaust, and Propellers | 2. Fuel Systems | 8-33. Fuel Tank Caps, Vents, and Overflow Lines

AC 43.13-1B
9/8/98
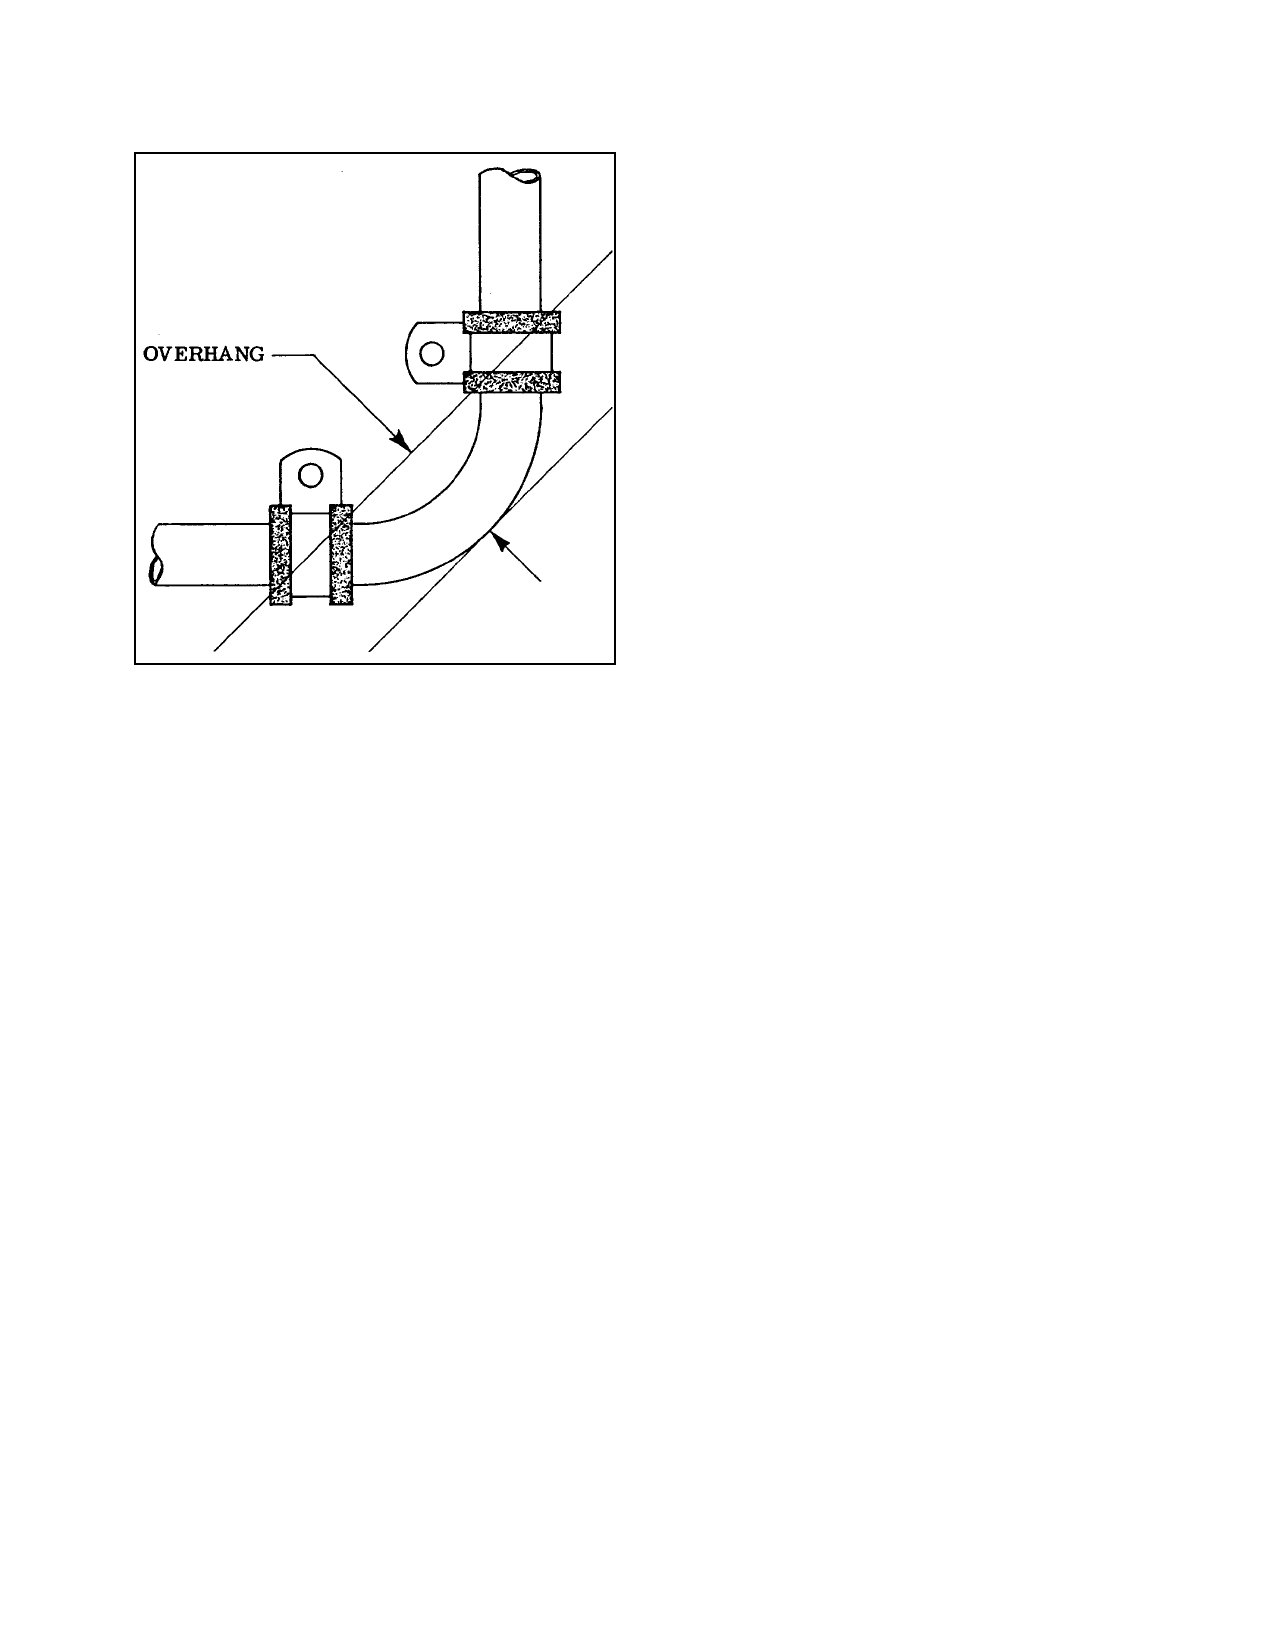
FIGURE 8-12. Location of clamps at tube bends.
CAUTION: Purge de-fueled tanks of
explosive fuel/air mixtures in accor-
dance with the manufacturer’s service
instructions. In the absence of such
instructions, utilize an inert gas such
as CO2 as a purgative to assure the to-
tal deletion of fuel/air mixtures.
a. Integral Tanks. Examine the interior
surfaces and seams for sealant deterioration
and corrosion (especially in the sump area).
Follow the manufacturer’s instructions for re-
pair and cleaning procedures.
b. Internal Metal Tanks. Check the ex-
terior for corrosion and chafing. Dents or
other distortion, such as a partially-collapsed
tank caused by an obstructed fuel tank vent,
can adversely affect fuel quantity gauge accu-
racy and tank capacity. Check the interior sur-
faces for corrosion. Pay particular attention to
the sump area, especially for those of which
sumps are made of cast material. Repairs to
the tank may be accomplished in accordance
with the practices outlined in the chapter 4,
Metal Structure, Welding and Brazing of this
AC.
c. Removal of Flux After Welding. It is
especially important, after repair by welding,
to completely remove all flux in order to avoid
possible corrosion. Promptly upon completion
of welding, wash the inside and outside of the
tank with liberal quantities of hot water and
then drain. Next, immerse the tank in either a
5 percent nitric or 5 percent sulfuric acid solu-
tion. If the tank cannot be immersed, fill the
tank with either solution, and wash the outside
with the same solution. Permit the acid to re-
main in contact with the weld about one hour
and then rinse thoroughly with clean water.
Test the efficiency of the cleaning operation by
applying some acidified 5 percent silver nitrate
solution to small quantity of the rinse water
used last to wash the tank. If a heavy white
precipitate is formed, the cleaning is insuffi-
cient and the washing should be repeated.
d. Flexible Fuel Cells. Inspect the inte-
rior for checking, cracking, porosity, or other
signs of deterioration. Make sure the cell re-
taining fasteners are properly positioned. If
repair or further inspection is required, follow
the manufacturer’s instructions for cell re-
moval, repair, and installation. Do not allow
flexible fuel cells to dry out. Preserve them in
accordance with the manufacturer’s instruc-
tions.
8-33. FUEL TANK CAPS, VENTS, AND
OVERFLOW LINES. Inspect the fuel tank
caps to determine they are the correct type and
size for the installation, and that “O” rings are
in good condition.
a. Unvented caps, substituted for vented
caps, will cause fuel starvation and possible
collapse of the fuel tank or cell. Malfunction-
ing of this type occurs when the pressure
within the tank decreases as the fuel is with-
drawn. Eventually, a point is reached where
the fuel will no longer flow, and/or the outside
atmospheric pressure collapses the tank. Thus,
Page 8-20
Par 8-32